
Proof of Delivery
Installation guide
Prerequisite
-
Transportation Management System for Business Central
-
Download TMS Proof of Delivery Solution zip file from https://www.extensionsforce.com/proofofdelivery
Install Detaverse Instance
-
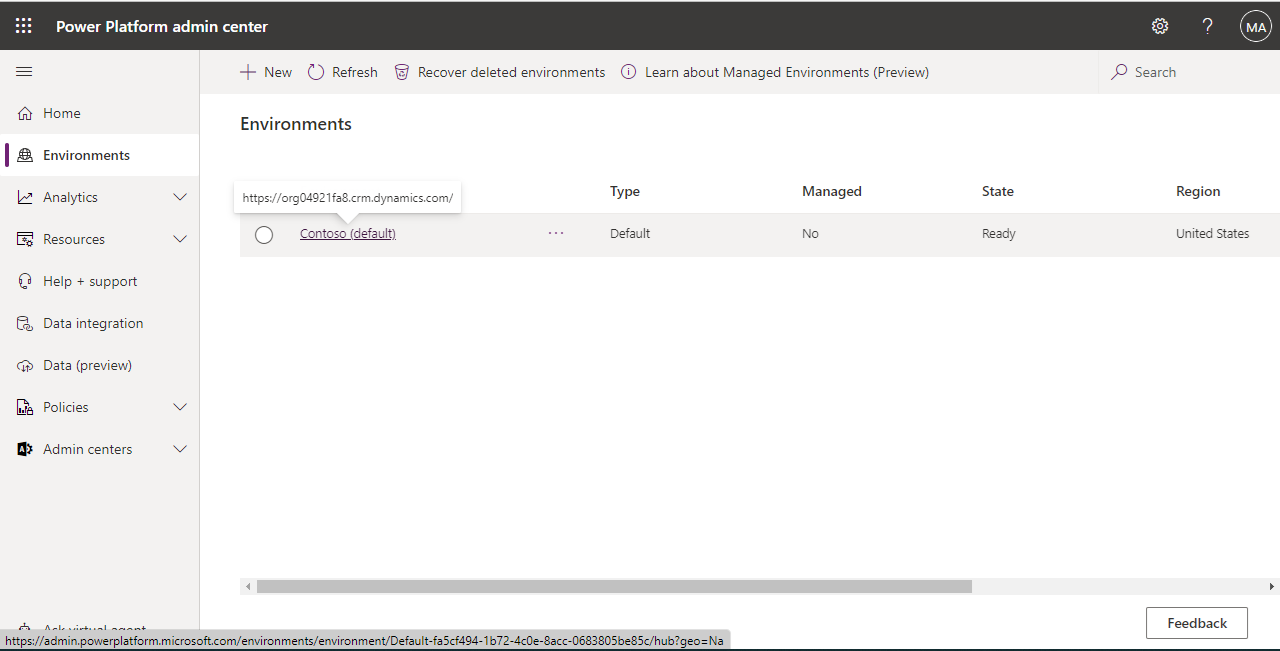
Open Power Apps (for example from https://portal.office.com ),
-
Select the Environment you wish to install the Proof of Delivery Application,
-
Select Solutions and Click on Create a database button:

Import Proof of Delivery solution
Click on the Import Solution button and choose Proof of Delivery solution zip file


Set connection to Business Central
Click – New Connection

After the Connection is created go back to the Import a solution page and Refresh the page. Make sure the Connection is chosen and click Next:

Set Environment Variables
You have to Set Environment Variables for connection to TMS

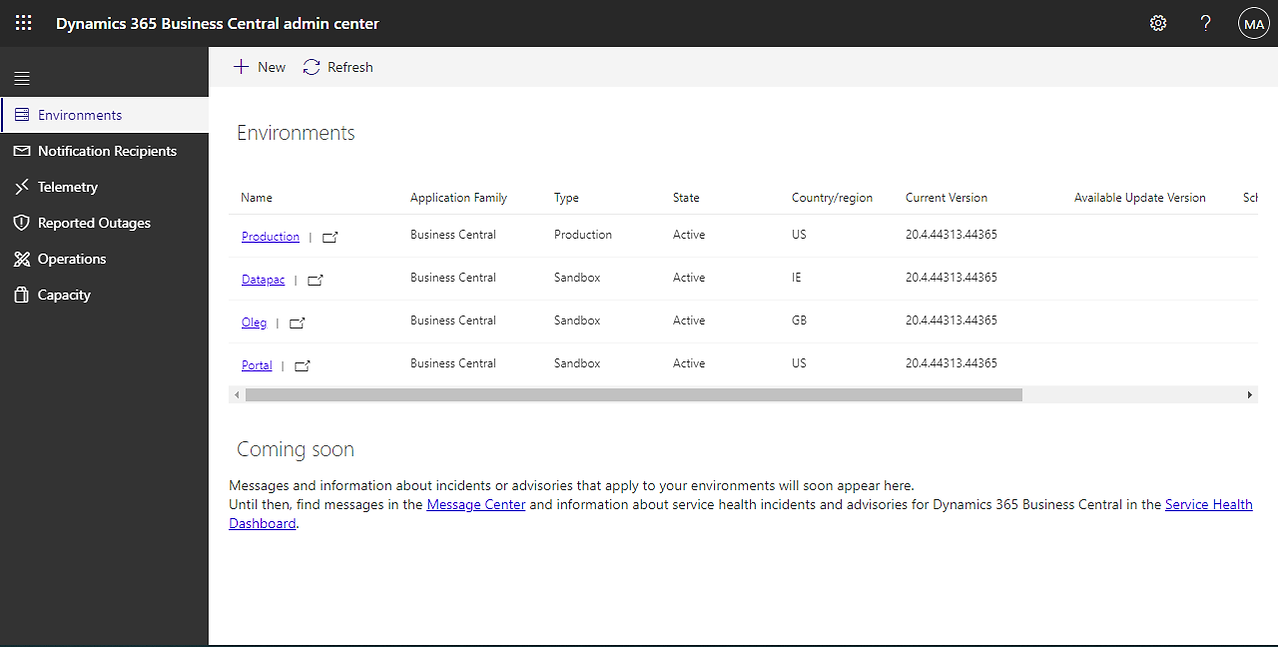
Environment Variable BC Environment Name could be found In Dynamics 365 Business Central admin center
Environment Variables BC Company Name and BC Company ID could be found in Business Central by inspecting Companies Lists


Environment Variables
-
BC Company Name is the Name parameter
-
BC Company ID is $systemId parameter


Tenant ID could be found in Azure Portal or in the link to Business Central
After you enter your Environment Variables click Import

Enable GeoSpatial Services
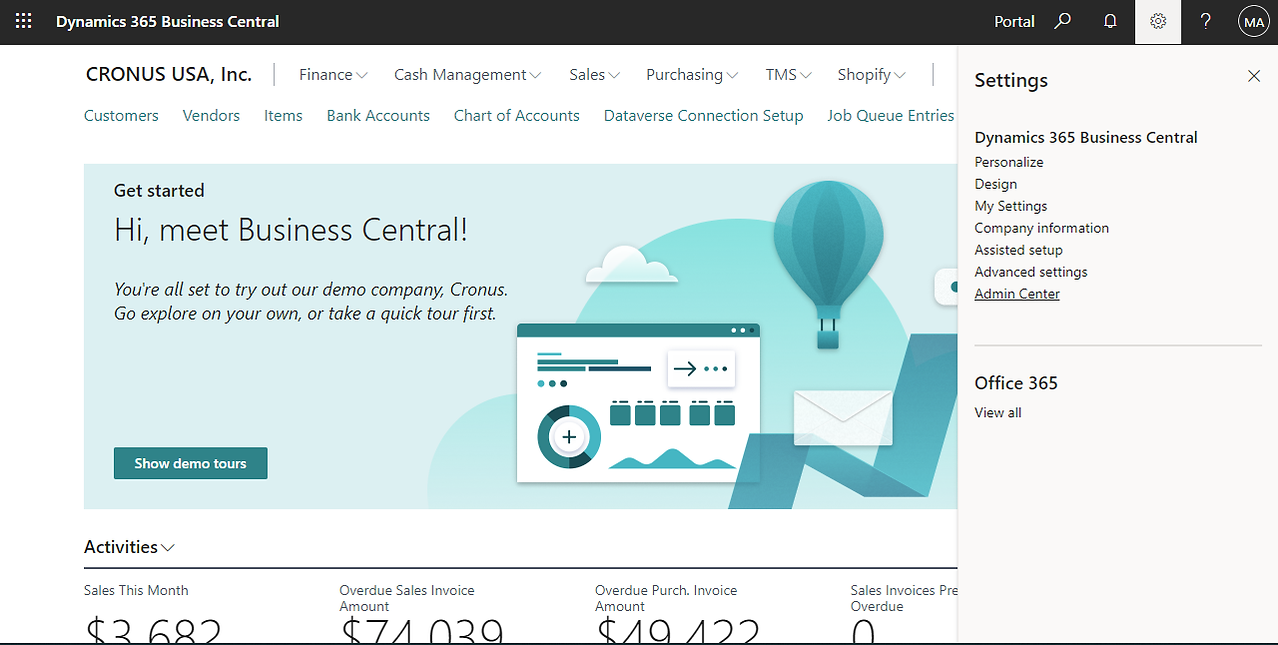
Click the Settings button in the top-left corner and choose Admin Center

Go to Environment tab and click on your Environment
In the Settings section pop-up Product section and choose Features

In the Map and address services enable Full features and click Save

Configuring ExtensionForce-TMS-ProofofDelivery application
Return to PowerApps, choose Apps section, click on *** in front of ExtensionForce-TMS-ProofofDelivery application then click Edit. Allow all prompts you asked.

Go to Data tab and Remove 5 Business Central’s connections
-
freightorders
-
stages
-
maplocations
-
stageentries
-
stageentryattachments

Add new Business Central connections instead of removed.


Go to File menu then Save and Publish the Application
